Experiencing videos where the audio lags behind or jumps ahead of the visuals can be incredibly frustrating. From professional content creation to casual viewing, out-of-sync audio significantly diminishes the user experience and can even undermine a project’s credibility. But what exactly causes this delay, and more importantly, how can you effectively identify and resolve it?
This comprehensive guide will demystify audio latency in video, explaining its causes, outlining various testing methodologies, and providing practical steps and tools to help you achieve perfect audio-video synchronization. Whether you’re a video editor, a streamer, or simply a viewer striving for a seamless experience, understanding and addressing audio latency is crucial for delivering high-quality visual content.
What is Audio Latency in Video?
Audio latency in video refers to the measurable delay between when an audio event should occur and when it is actually heard, relative to its corresponding visual event. Essentially, it’s the time lag that causes spoken words to not align with lip movements, or impacts and explosions to not coincide with their sound effects. Even subtle misalignments, often as little as 20 to 40 milliseconds, can be perceptible to the human ear and eye, leading to a noticeable degradation in quality and user immersion.
This phenomenon isn’t new, but its prevalence has increased with the complexity of modern digital workflows, diverse playback devices, and various streaming environments. Understanding that latency can occur at multiple stages—from capture and processing to transmission and playback—is the first step toward effectively diagnosing and mitigating the issue.
Common Causes of Audio Latency
Audio latency isn’t usually caused by a single factor but often by a combination of delays introduced at different points in the video production and delivery chain. Identifying where these delays originate is key to troubleshooting.
- Recording and Capture: Issues can begin right at the source. Mismatched frame rates between video cameras and audio recorders, or the use of multiple recording devices without precise timecode synchronization, can introduce initial offsets. Even simpler setups, like a webcam with a separate microphone, can show slight discrepancies.
- Editing Software and Post-Production: Video editing software, while powerful, can also be a source of latency. Complex effects, heavy processing, or rendering with incorrect settings can introduce delays. Software bugs or insufficient hardware resources (CPU, RAM, GPU) can cause playback stutter and desynchronization during editing, making it difficult to accurately perceive sync.
- Playback Devices:
- Displays and Televisions: Modern TVs and monitors often have internal video processing that introduces a delay. This “input lag” varies significantly between models and can range from a few milliseconds to over 100ms, making the video appear behind the audio, especially when audio is routed directly through a receiver.
- Audio Systems (Receivers, Soundbars): Home theater receivers and soundbars also perform their own digital signal processing (DSP), which can add latency to the audio path. While many offer adjustable audio delay settings, they can contribute to the overall problem if not properly calibrated.
- Wireless Audio (Bluetooth): Bluetooth headphones and speakers are notorious for introducing noticeable audio latency, often in the range of 100-300 milliseconds. This delay is inherent to the wireless transmission and processing involved, making real-time applications like gaming or live monitoring challenging.
- Streaming and Network Conditions: For streamed video content, network latency, buffering, and the encoding/decoding processes all play a role. A slow or unstable internet connection can cause video frames to drop or buffer, leading to desynchronization with the continuously streaming audio. Different streaming platforms and codecs can also handle synchronization differently.
Methods for Testing Audio Latency
To effectively resolve audio latency, you first need to accurately measure it. There are two primary approaches: subjective (perceptual) testing and objective (measured) testing.
1. Subjective (Perceptual) Testing
Subjective testing relies on human perception to identify and quantify audio-video sync issues. While less precise than objective methods, it’s often the most accessible and practical approach for viewers and content creators looking for a quick diagnosis.
- Using A/V Sync Test Videos: These videos are widely available on platforms like YouTube and are designed with clear visual and auditory cues. Common formats include:
- Clap Tests: A person claps their hands in front of the camera, providing a sharp visual and audio spike. You watch the video and note if the sound of the clap aligns perfectly with the hands coming together.
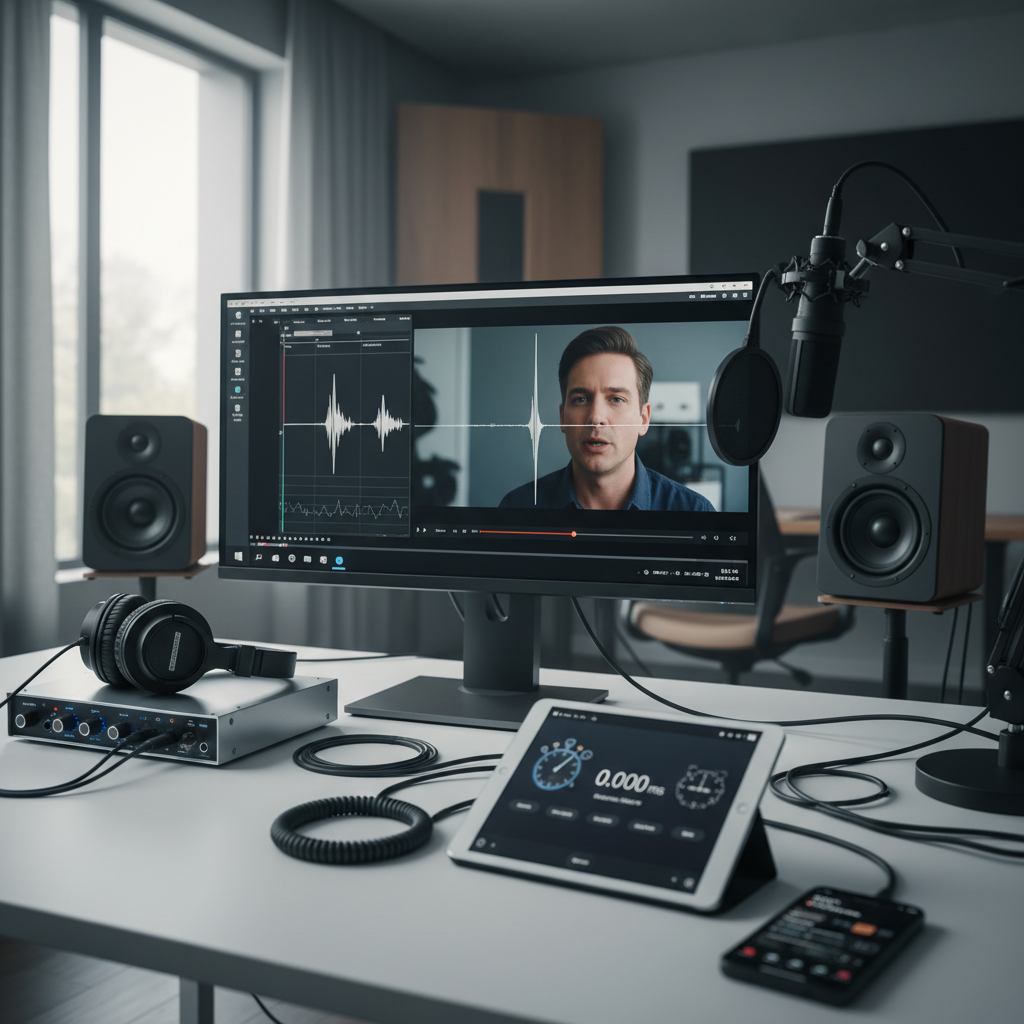
- Moving Bars with Beeps: These videos often feature a bar or line moving across the screen that aligns with a specific numerical value (e.g., milliseconds) as a short beep or click sounds. You listen for the beep to coincide precisely with the visual marker at the “0ms” point. If the beep occurs at, for example, the -41.6ms mark, it indicates the audio is too early by 41.6ms.
- Dedicated Online/App Tools: Several tools allow you to compare audio latency between different output devices aurally. For instance, some tools play a short click sound simultaneously on two selected audio outputs, allowing you to hear if one device reacts later, creating an echo or offset effect. This is particularly useful for instantly detecting Bluetooth audio latency.
- Importance: Subjective tests are crucial because they directly reflect the real-world user experience. Even if objective measurements show a minor delay, if it’s imperceptible to a human, it might not require correction. Conversely, if a seemingly small delay is irritating, it warrants attention.
|
Our Picks for the Best Bluetooth speaker in 2026
As an Amazon Associate I earn from qualifying purchases.
|
||
| Num | Product | Action |
|---|---|---|
| 1 | JBL FLIP 5, Waterproof Portable Bluetooth Speaker, Black, Small |

|
| 2 | Monster S620 Bluetooth Speaker, Wireless Portable Outdoor Bluetooth Speakers, 60W True Wireless Stereo IPX8 Waterproof, Dual PairingBluetooth 5.4 Built-in Mic, Perfect for Home, Blue |
|
| 3 | Portable Bluetooth Speaker, IPX7 Waterproof Wireless Speaker with 20W Loud Stereo Sound, 15H Playtime & Beat-Synced RGB Light, Small Outdoor Speaker for Shower, Pool, Beach, Hiking and Gifts |
|
| 4 | JBL Charge 6 - Portable Waterproof & Drop-Proof Bluetooth Speaker, Bold JBL Pro Sound with AI Sound Boost, 28Hrs of Playtime, Built-in powerbank & Comes with a Sturdy/Removable Carrying Strap (Black) |
|
| 5 | Bose SoundLink Flex Bluetooth Speaker (2nd Gen) - Portable Outdoor Speaker with Hi-Fi Audio, Waterproof and Dustproof, USB-C, Up to 12 Hours Battery Life, Twilight Blue - Limited Edition Color |
|
| 6 | BolaButty Bluetooth Speaker with HD Sound, Portable Wireless, IPX5 Waterproof, Up to 20H Playtime, TWS Pairing, BT5.3, for Home/Party/Outdoor/Beach, Electronic Gadgets, Birthday Gift (Black) |
|
| 7 | Anker Soundcore 2 Portable Bluetooth Speaker, 12W Stereo Sound with Deep Bass, IPX7 Waterproof, 24-Hour Playtime, Built-in Mic, for Home, Outdoors & Travel |
|
| 8 | Soundcore Boom 2 By Anker, Outdoor Speaker, 80W, Subwoofer, BassUp 2.0, 24H Playtime, IPX7 Waterproof, Floatable, RGB Lights, USB-C, Custom EQ, Bluetooth 5.3, Portable for Camping and Beach - Black |
|
| 9 | JBL Go 3 - Portable Mini Bluetooth Speaker, big audio and punchy bass, IP67 waterproof and dustproof, 5 hours of playtime, speaker for home, outdoor and travel (Black) |
|
| 10 | JBL Go 4 - Ultra-Portable, Waterproof and Dustproof Bluetooth Speaker, Big JBL Pro Sound with Punchy bass, 7-Hour Built-in Battery, Made in Part with Recycled Materials (Blue) |
|
2. Objective (Measured) Testing
Objective testing provides precise, quantifiable data on audio latency, making it invaluable for professional environments or when diagnosing complex issues. This method often involves specialized tools and techniques.
- Using Sync Markers & High-Speed Recording:
- Capture a Test Clip: Record a short video clip that includes a distinct sync marker, such as a sharp clap, an LED flash (like from a clapperboard), or a custom audio cue. Ensure both the visual and auditory events are captured clearly.
- Record Playback: Play this test clip through your entire delivery pipeline (e.g., from your editing software, through a streaming service, or on your target playback device). Simultaneously record the playback using a high-frame-rate camera (faster than your display’s refresh rate) and a separate microphone if precise audio capture is needed.
- Analyze: Import the recorded playback into video editing software. Zoom in on the timeline to visually compare the audio waveform peak of the sync marker with the exact video frame where the visual event occurs. The difference in milliseconds or frames represents the latency.
- Software Analysis (e.g., FFmpeg/FFprobe): For technical users,
ffmpegandffprobeare powerful command-line tools for extracting and inspecting timestamps within media containers. They can isolate audio or video streams and perform waveform analysis to identify offsets. Wireshark and RTP analyzers can further track transport-level latency and jitter in real-time communication streams. - Professional Tools: In broadcast or high-end AV installations, dedicated hardware tools like the Hitomi Matchbox or Synflash/Syncheck combo are used. These devices generate and measure precise latency using specific signals, offering highly accurate results for complex setups.
Step-by-Step Guide: How to Test Audio Latency
Here’s a practical, step-by-step guide to testing audio latency for your videos:
Step 1: Prepare Your Test Environment
Before you begin, minimize variables to ensure accurate readings.
- Choose a Specific Scenario: Are you testing latency in your editing software, a streaming setup, or a home theater system? Focus on one path at a time.
- Disable Unnecessary Processes: Close other applications on your computer to free up system resources.
- Control Audio Output: Ensure your audio is routed through the specific device you want to test (e.g., specific speakers, Bluetooth headphones).
Step 2: Use a Reference Sync Video/Marker
This is your baseline for measurement.
- For Editing/Production: Create a short clip (5-10 seconds) where you clap your hands sharply in front of the camera, or use a clapperboard. Ensure the camera and microphone are recording simultaneously.
- For Playback/Streaming: Use a dedicated A/V sync test video from YouTube or a downloadable test file. Look for videos with clear visual indicators (like a flashing light or moving line) synchronized with an audible click or beep.
Step 3: Record the Playback (for Objective Measurement)
If you need precise, quantifiable data beyond subjective perception:
- Use an External Camera: Set up a separate camera (preferably one capable of high frame rates, e.g., 60fps or higher) to record your screen while the test video plays. Position it to clearly capture both the visual sync marker and, if possible, the actual speaker output (e.g., if you’re clapping, capture your hands and listen to the recorded audio from your system).
- Ensure Good Audio Capture: If using an external camera, ensure its microphone captures the audio from your playback system clearly.
Step 4: Analyze the Offset
This is where you determine the amount of delay.
- Visual Inspection (Slow-Motion Playback): Import your recorded playback into video editing software. Play it back in slow motion, frame by frame, to pinpoint the exact moment the visual cue occurs. Then, observe the audio waveform to see where the corresponding sound event peaks. The difference is your latency.
- Audio Waveform Comparison: In your editing software, align the recorded video and audio tracks. Look at the audio waveform: if the visual event (e.g., clap) happens on screen, but the audio peak is shifted to the left (audio is early) or right (audio is late), you’ve found your latency. Adjust the audio track until the visual and audio peaks align perfectly.
- Using Specialized Tools/Apps:
- CatchinSync (App): This app allows you to record video and audio, then visually slip the audio to match the video, indicating the delay in frames or milliseconds.
- SynQR (iOS App): Offers real-time measurements by scanning a QR code test pattern displayed on your screen, though some users report finicky calibration.
- Syncer.live (Browser-based): A web tool that can be loaded on a phone or tablet browser, offering another way to test.
Step 5: Document and Repeat
- Log Your Findings: Note down the latency values for different devices, software, or scenarios. This helps in understanding patterns and verifying fixes.
- Test Across Devices: Latency can vary significantly between different headphones, speakers, or displays. Repeat your tests for each critical device in your setup.
- Different Content: If you suspect specific video formats or codecs might be an issue, test with various types of content.
Tools and Resources for Latency Testing
Having the right tools can make the latency testing process more efficient and accurate.
- Test Videos:
- YouTube A/V Sync Test Videos: Simply search for “audio video sync test” or “lip sync test” on YouTube. Many videos feature a countdown with visual flashes and synchronized beeps that help you identify delays in milliseconds or frames.
- Software Tools:
- Video Editing Software (e.g., Adobe Premiere Pro, DaVinci Resolve, OpenShot, Blender): Essential for visualizing audio waveforms against video frames. Most modern editing suites offer precise audio editing capabilities down to individual samples.
- FFmpeg/FFprobe: These open-source command-line tools are indispensable for advanced users. They can extract and analyze media timestamps, making it possible to programmatically detect and measure latency within media files.
- Online/Mobile Apps:
- CatchinSync: A paid app (iOS) that lets you record and then precisely adjust audio against video to determine latency.
- SynQR: An iOS app designed for real-time latency measurement using QR code patterns.
- Syncer.live: A browser-based tool accessible on mobile devices for quick sync checks.
- Hardware:
- Spears & Munsil UHD HDR Benchmark Disc: For serious home theater enthusiasts, this calibration disc includes advanced test patterns for audio/video synchronization, supporting various audio formats.
- Professional AV Test Equipment: For broadcast or high-stakes live events, dedicated hardware like the Hitomi Matchbox provides the most accurate and reliable real-time latency measurement.
Adjusting and Fixing Audio Latency
Once you’ve identified the extent and direction of your audio latency, it’s time to apply fixes. The approach will depend on where the latency is occurring.
In Post-Production (Video Editing)
This is often the most controlled environment for fixing sync issues.
- Slipping Audio Tracks: Most editing software allows you to “unlink” audio from video and then manually shift the audio track forward or backward in very small increments (e.g., individual frames or audio samples) until it perfectly aligns with the video. This is the most common manual method.
- Using Auto-Sync Features: Many professional video editing applications (like Adobe Premiere Pro) offer automatic synchronization features. You can select both video and separately recorded audio tracks, and the software will analyze their waveforms (especially useful with a clap marker) and automatically align them.
During Playback
For issues encountered during movie watching, gaming, or streaming:
- TV/Receiver Audio Delay Settings: Many modern TVs and AV receivers have an “Audio Delay” or “Lip Sync” setting in their menus. You can usually adjust this setting in milliseconds to delay the audio output until it matches the video being displayed.
- Software Playback Settings: Media players like VLC often have built-in options to manually adjust audio delay during playback, allowing you to fine-tune sync on the fly.
- Updating Drivers and Firmware: Outdated audio or video drivers, or device firmware, can sometimes cause or exacerbate latency issues. Ensure all your system components are up to date.
- Checking Audio Device Configuration: In your operating system’s sound settings or within specific applications, ensure the correct audio output device is selected and that no unnecessary audio enhancements or virtual surround sound features are introducing additional processing delays.
System-Wide Optimization
For broader improvements:
- Minimize Wireless Audio: If possible, use wired headphones or speakers for critical tasks like gaming or video editing, as they typically have significantly lower latency than Bluetooth devices.
- Optimize Network Connection for Streaming: For streaming content, use a stable wired Ethernet connection instead of Wi-Fi whenever possible. Ensure your internet speed is sufficient for the quality of video you’re streaming and that there’s no excessive buffering.
- Check for Conflicting Software: Sometimes, background applications or audio enhancers can interfere with proper audio-video synchronization.
Conclusion
Audio latency can be a persistent and annoying problem, but with the right understanding and tools, it’s a challenge you can overcome. By systematically testing for delays—whether through simple subjective checks with test videos or precise objective measurements using advanced software—you can pinpoint the source of the issue. The key is to be methodical, test each component in your signal path, and apply targeted adjustments in post-production or during playback.
Achieving perfect audio-video synchronization is about more than just technical correctness; it’s about delivering an immersive and enjoyable experience. What’s the most common source of audio latency you’ve encountered in your video projects, and how did you finally resolve it?
Câu Hỏi Thường Gặp
What is the minimum audio-video sync error perceptible to users?
A misalignment of just 20-40 milliseconds is typically noticeable and significantly degrades the user experience. For broadcast standards, acceptable sync errors generally range from about -125 ms (audio lagging behind video) to +45 ms (audio leading video).
Why do Bluetooth headphones cause latency?
Bluetooth headphones introduce latency due to the encoding, transmission, and decoding processes involved in sending audio wirelessly. The audio signal needs to be compressed, sent over the air, and then decompressed by the headphones, all of which take time, resulting in a delay often between 100-300 milliseconds.
Can I fix latency in live streaming?
Fixing latency in live streaming is more challenging as it’s a real-time process. While you can optimize your camera and microphone setup for minimal capture latency and use a stable wired internet connection, significant delays often stem from network conditions or streaming platform processing. Some streaming software offers minor audio delay adjustments, but major sync issues usually point to broader system or network problems.
How often should I test for audio latency?
The frequency of testing depends on your workflow. For professional video production, regular checks during setup and after significant changes to hardware or software are recommended. For general playback, test when you notice a problem or when introducing new audio/video equipment like a new TV, soundbar, or wireless headphones.